What To Do When Part of Your Solar System Stops Working
Only part of your solar array working? Learn how to spot a failed inverter, what safe checks you can do, how warranties and RMAs work, and when to call a pro.
When Only Part of Your Solar System Stops Working
We recently got a call from a homeowner — let's call him Mark — who was worried about his solar panels. He told us, “I’ve got a pretty large system, around 120–125 panels, and half of my array is not working. Half my grid is just dead.”
Like a lot of folks, Mark had an added complication: the original solar company that installed his system had gone bankrupt. So he wasn’t sure who to call, what was covered by warranty anymore, or even where to start troubleshooting.
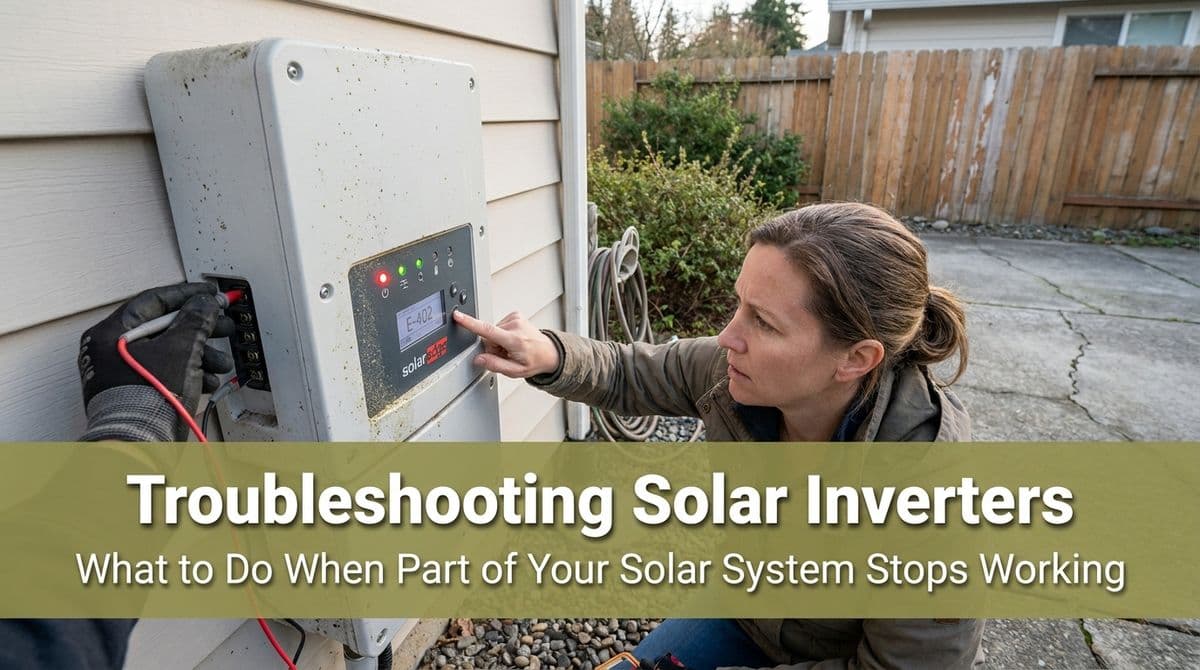
As we talked through his setup, we learned he had a SolarEdge system with three inverters — two in the back by a shop, and one on the side of the house. The two were showing a solid green light, but the problem one was flashing green with a steady blue light, even after he tried cycling power several times. That pattern was the clue: most likely, one inverter had failed or wasn’t communicating properly.
If you’re in a similar situation — only part of your solar array is producing power, and you’re staring at a mysterious blinking light — here’s how we walk homeowners through the basics and what usually happens next.
Why Only Part of Your Solar Is Working
Most larger residential solar systems, like Mark’s 100+ panel setup, aren’t run off a single inverter. Instead, the panels are split across multiple inverters or multiple MPPT inputs so the system can handle more power and better manage shading and string design.
That means:
- If one inverter goes down, the panels wired to that inverter stop producing, but the others can keep working.
- Your utility bill and monitoring app will show a drop in production, but usually only by a portion — for example, one-third or one-half of normal output.
- You might notice it first on a sunny day when production looks strangely low compared to previous months.
In Mark’s case, two inverters were running fine with solid green lights, and the third was showing a repeating green flash with a steady blue. That pattern told us it wasn’t completely dead, but it wasn’t completing its normal startup and production sequence either.
Common Signs One Solar Inverter Has Failed
While every brand has its own light codes, here are some common warning signs that one inverter (not the whole system) is the problem:
- Production is down, but not zero – for example, you’re only making half your normal power on a clear day.
- Monitoring app shows one inverter offline – one device is grayed out, missing, or showing zero watts while others look normal.
- Status lights differ between units – like Mark’s system: two inverters with solid green, one inverter with a flashing green and steady blue.
- Error codes on the screen – some units will display a specific fault code or message on a small LCD panel.
With SolarEdge in particular, you’ll often see combinations of green, blue, and sometimes red lights indicating power, communication, or fault conditions. The solid green on Mark’s good inverters indicated they were producing. The flashing green with steady blue on the bad unit meant it was stuck in a state where it wasn’t fully online.
Safe Basic Checks You Can Do as a Homeowner
We always start with what you can safely check without opening any equipment. Here’s the simple checklist we often walk customers through over the phone:
1. Compare the inverters
Walk to each inverter and look at:
- Lights – Are they all the same color and pattern? Which one looks different?
- Sounds – Is one unit completely silent while the others have a faint hum when the sun is out?
- Display – If it has a screen, does it show watts being produced or an error code?
In Mark’s case, seeing two solid green lights and one flashing green/steady blue quickly pinpointed the suspect inverter.
2. Check your monitoring app or portal
If your system has an online portal:
- Log in and see if all inverters are listed.
- Look for any unit showing 0 W production while others are producing.
- Note any alerts or error messages in the portal.
3. Confirm breakers and disconnects (from the outside only)
From the outside only — without opening any covers:
- Make sure the inverter AC disconnect (if present) is in the ON position.
- Check your main electrical panel for any tripped breakers related to “solar,” “PV,” or “inverter.”
- If you see a tripped breaker, you can reset it once by flipping it firmly off, then on. If it trips again, leave it off and call a pro.
Important: Do not remove covers, do not expose wiring, and do not attempt any internal repairs yourself. Work inside the inverter or electrical panel should always be left to qualified professionals.
What We Do When We Come Out to Troubleshoot
When we scheduled Mark for a service visit, we explained that the first step is a thorough troubleshooting session. This usually includes:
- Verifying wiring and connections to and from the inverter.
- Checking DC input voltages from the panel strings.
- Reviewing error logs or internal diagnostics on the inverter.
- Contacting the manufacturer’s tech support if needed to confirm a suspected failure.
Once we’re confident the inverter itself has failed, that’s when warranty and RMA (Return Merchandise Authorization) come into play.
How Solar Inverter Warranties and RMAs Usually Work
Even when the original installer is out of business, your inverter itself may still be under the manufacturer’s warranty. Many inverter brands offer 10–12 year standard warranties, sometimes longer with extensions.
Here’s how it typically works, using SolarEdge as an example:
- Step 1: Diagnose the unit – A technician confirms the fault and gathers serial numbers, error codes, and test results.
- Step 2: Contact manufacturer – We call SolarEdge support to open a case and share our findings.
- Step 3: RMA approval – If they agree it’s a covered failure, they issue an RMA and ship a replacement inverter.
- Step 4: Replacement – Once the new unit arrives, we return to remove the old inverter and install the new one.
In Mark’s situation, we explained that “those usually have warranty on them,” and once we finished our initial troubleshooting, we’d call SolarEdge to have them RMA a replacement to us if needed.
When It’s Time to Call a Professional
You should stop at visual checks and basic breaker resets. Call a licensed solar or electrical professional if:
- You see blinking or mixed light patterns on one inverter that don’t match the others.
- Production is significantly lower than normal, and the cause isn’t obvious (like cloudy weather).
- Your monitoring portal shows one inverter offline for more than a day or two.
- Any breaker associated with the solar system trips more than once.
Even if your original installer is no longer in business, another qualified company can usually step in to diagnose the issue, work with the manufacturer on an RMA, and get your system back to full production.
If you’re staring at a blinking light on just one of your inverters and wondering why half your solar is missing, you’re not alone. We help homeowners through situations like Mark’s all the time — from initial troubleshooting to final replacement — so you can get every panel you paid for back to work.